

In the age of aerial photography, drones have become indispensable tools for capturing unique perspectives of our world. From real estate to construction, and even personal property showcases, the ability to take captivating drone photos and videos can significantly enhance your visual appeal. This comprehensive guide is designed to show you how to take better drone photos and videos, help you refine your aerial photography skills, focus on crucial aspects such as camera settings, framing, shot composition, post-processing in Lightroom or any post processing photo application of your choice, and the utilization of ND filters. By emphasizing these elements, we aim to boost your content's relevancy and Google search rank.
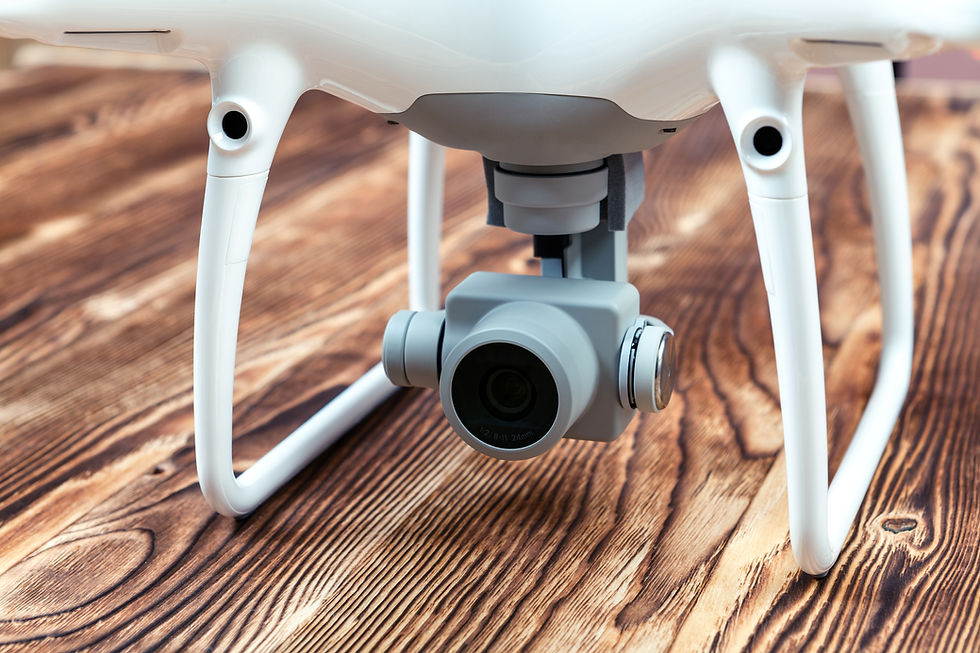
Camera Settings for Optimal Quality
The secret to taking better drone photos and videos lies in mastering your camera's settings. Here's what you need to know:
ISO: Keep it low, ideally around 100, to minimize noise and ensure crisp images. During the day, a low ISO will keep your images and video looking great, at night keep this as low as you can. The higher the ISO, the more noisy and grainy the end result will be.
Shutter Speed: Adjust based on the available light; a faster shutter speed for bright conditions prevents overexposure. Shutter speeds also comes into play when you want to utilize slow motion effects. The higher your shutter speed, the more you can slow down your footage. For example, if you wanted to film a person running at full speed, a shutter speed of 1/250 (one over two-fifty) would let you slow down the clip without it looking jittery and weird versus filming the person running at full speed with a shutter speed of 1/50 (one over fifty).
Aperture: If adjustable, experiment with it to control light and depth of field. A lower aperture captures more light and focuses attention on the subject. A higher aperture lets in less light which brings the subject and everything else in the cameras field of view into focus. For example, if you were filming a person standing in front of a car, you can use a lower aperture ( f1.4 to f4.0 ) to focus on the person and not so much the car in the background. If you were filming a lot of people like a basketball team, you would use a higher aperture ( f5.0 to f13 or higher) to have everyone in focus and not just a single person.
White Balance: Manually setting your white balance guarantees consistent color temperatures across your shots, crucial for professional-looking footage. White balance can be adjusted after the fact so if you mess it up, no biggie. But the above 3 can not be fixed after the fact so it's important to master those 3 which many people refer to as the Aperture Triangle.

Mastering Framing and Shot Composition
Crafting visually appealing images requires thoughtful framing and composition. Implement these strategies for impactful aerial imagery:
Rule of Thirds: Position significant elements along the intersections of your image's divided nine equal segments for a balanced composition. In your camera settings there is a setting called "grid lines" these lines help you frame shots and keep your subject matter in the center of the field of view. The four middle intersecting points of those grid lines are refer to as "The Rule of Thirds" which basically means on one of those four points, you should have your subject, or part of it, on one of those four points.
Leading Lines: Direct the viewer’s eye through the image with natural or constructed lines, enhancing the narrative quality of your shots. You can use the environment around your subject to "lead" the viewers attention to the subject. For example, a hallway can be using as a leading line by having the subject stand in the middle of the area where the hallway intersects.
Unique Perspectives: Utilize your drone’s vantage point for creative angles and elevations that reveal new insights into familiar landscapes. Drones offer a birds eye view to begin with so being able to further define those views with different perspective can help you become a better drone photographer.

Editing in Lightroom: Bringing Your Drone Footage to Life
Post-processing plays a pivotal role in transforming good footage into great. Adobe Lightroom offers a suite of tools for enhancing your aerial shots:
Exposure and Contrast: Fine-tune these to adjust the lightness and depth of your images. Getting exposures right is crucial. If you have too little exposure, you can recover in post processing somewhat. If you have too much and become "over exposed" you're screwed. Think of exposure as salt in cooking, too much, no bueno, too little, not a big deal. Aiming for just enough is the sweet spot. Contrast helps with making your colors pop, you can adjust and fine tune that in post processing.
Saturation and Vibrance: A touch of saturation adds life to your photos, but moderation is key to avoid unnatural results. These aspects make those colors pop out of the screen and into the viewers eyeballs quite literally. Have good saturation and vibrance can make for scroll stopping photos and videos but once again, only add what you need not too much.
Highlights and Shadows: Manipulating highlights and shadows can dramatically improve the detail in the brightest and darkest parts of your image, adding depth and dimension. If an image is too bright and you don't want to adjust exposure, play with the highlights. Inverse of that, if an image is too dark? You got it, play in traffic (LMAO) play with the shadows.
Sharpening and Noise Reduction: These tools help in refining image clarity and reducing grain, but should be used sparingly to preserve natural textures. These aspects should be more of a finishing touch of an image or video. Similar to strawberries on a cake. If the cake itself sucks, the strawberries wont make a difference. So if your images are bad to begin with, sharpening and noise reduction only can do so much.
Lens Corrections: Address wide-angle lens distortions to straighten lines and ensure accurate representations of your subjects. Camera lens have a slight distortion at the ends of the photo that is somewhat noticeable to the eyes of a professional, most normal viewers would barely make it out. Fix that with lens corrections in post processing.

The Essential Role of ND Filters
ND filters, or "sunglasses for your drone," are crucial for managing light and enhancing the quality of your footage:
Motion Blur: By enabling longer exposure times, ND filters introduce a blur effect for moving subjects, adding dynamism to your shots.
Depth of Field Control: Use wider apertures in bright conditions without overexposing your footage, focusing attention on your main subject.
Glare Reduction: ND filters are particularly effective in minimizing reflections and glare, especially useful over water or reflective surfaces. ND filters are also handy when your drone lets in too much light and you want to use those lower settings.

Implementing These Strategies for Enhanced Drone Imagery
Adopting these techniques can elevate your drone photography and videography, making your content more engaging and searchable and not to mention good looking. Understand and adjust your camera settings for each flight, pay close attention to framing and composition to tell compelling stories, and leverage Lightroom's capabilities to enhance your imagery post-flight. ND filters are invaluable tools for achieving professional-quality footage. Embrace experimentation and continuous learning to unlock the full potential of your aerial photography, enhancing your visual storytelling with every flight.
As you venture further into the world of drone imagery, remember that the essence of great photography lies in how you see the world and how you capture its infinite beauty. Let your creativity fly high, and your drone photography and videography skills will soar to new heights.
Comentarios